Totorial: How to Create a Next.js E-commerce Website (Updated 2023)


Hi all!
This will be a tutorial on creating your very own, fully-customisable online shop front for your products using Next.js. Why Next.js? It is one of the most popular React frameworks at the moment and is really great for e-commerce.
Some of the reasons for using Next.js are as follows:
- It supports server-side rendering, which is very important for SEO.
- It’s quite well optimised and fast, again helping our algorithmic ranking.
- It’s builds on all of the other benefits that React apps give us, such as being easy to use and well-supported.
This is by no means an exhaustive list of the benefits of Next.js, but it should give you an idea of why it’s a good fit for e-commerce.
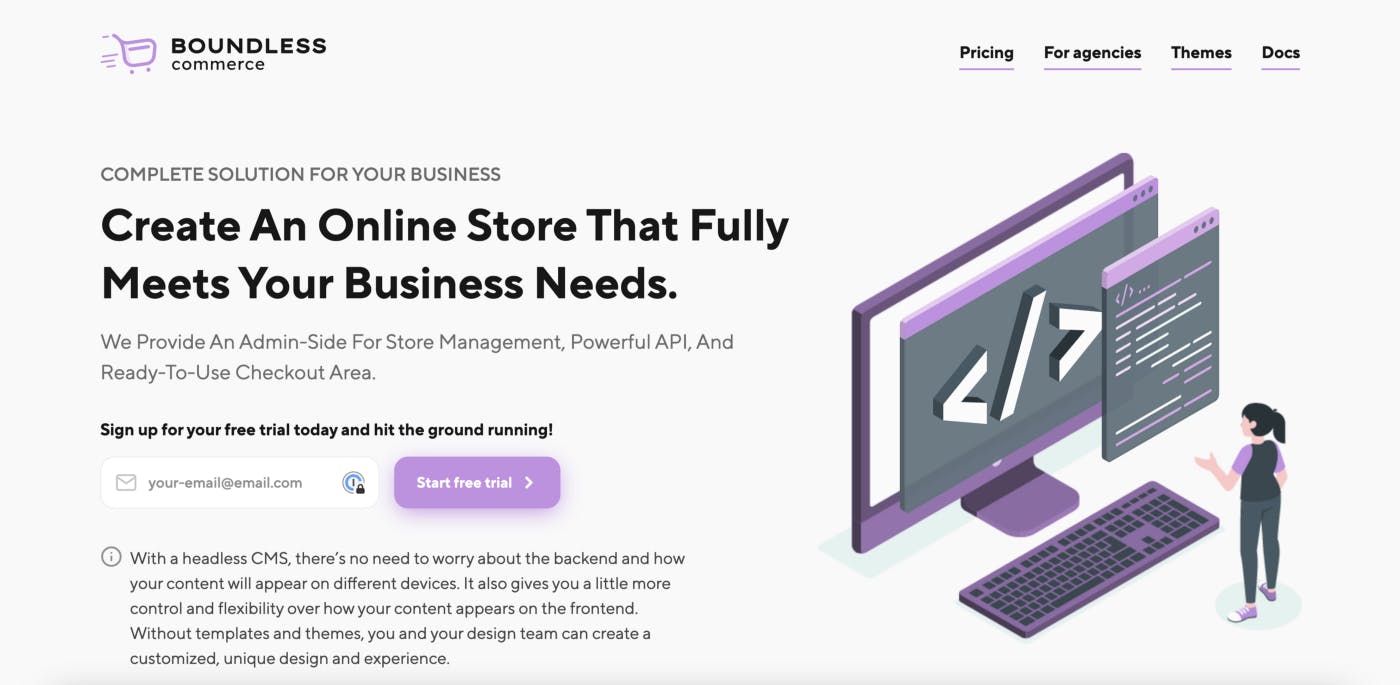
For this tutorial, we will also be using Boundless Commerce, a service providing everything you need to get a fully custom e-commerce site up and running as quickly as possible, including a headless backend and Next.js templates for the frontend.
Prefer to watch videos? Take a look at our nice "How-to" video:
1. Sign up for the free version
To begin, we will just register with Boundless Commerce. It’s as simple as entering your email and completely free to try! They also have different price points for scaling your business.
Boundless sign up is super simple. All that’s needed is to provide your email, answer a few setup questions, and choose a shop name. That’s it!

2. Clone a frontend theme from the Boundless templates
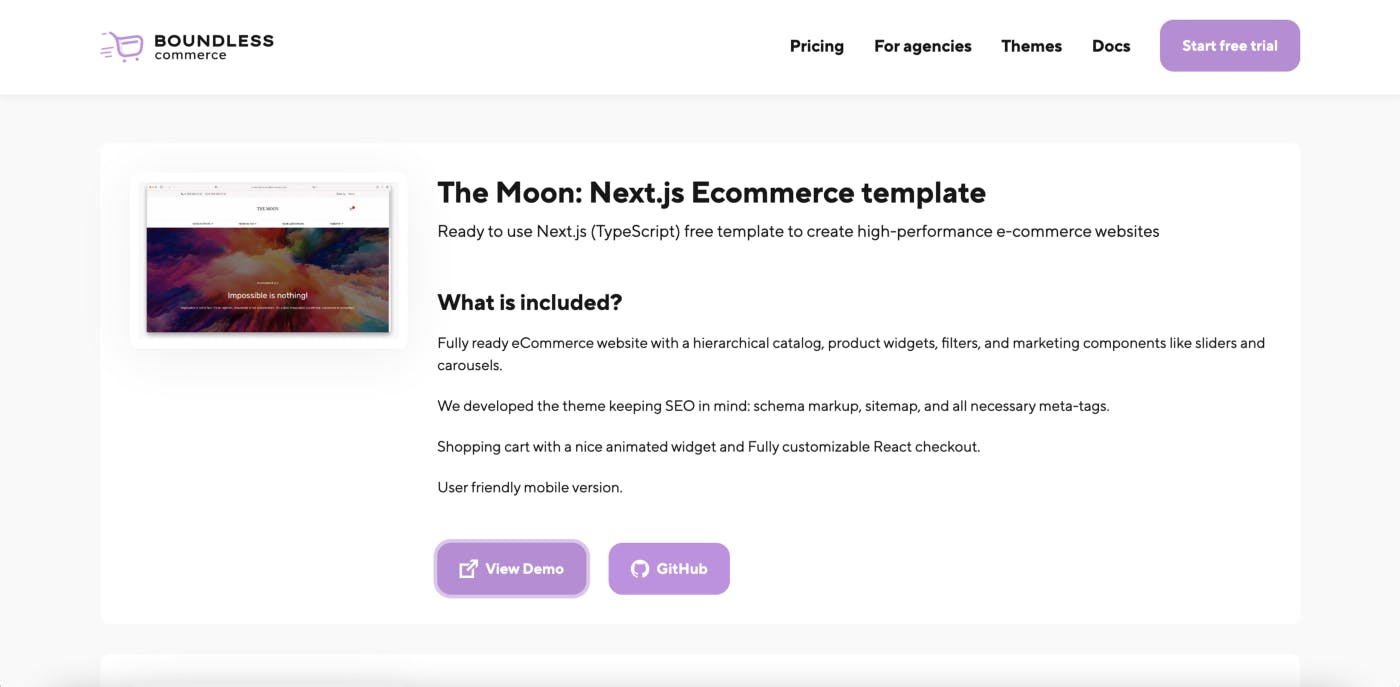
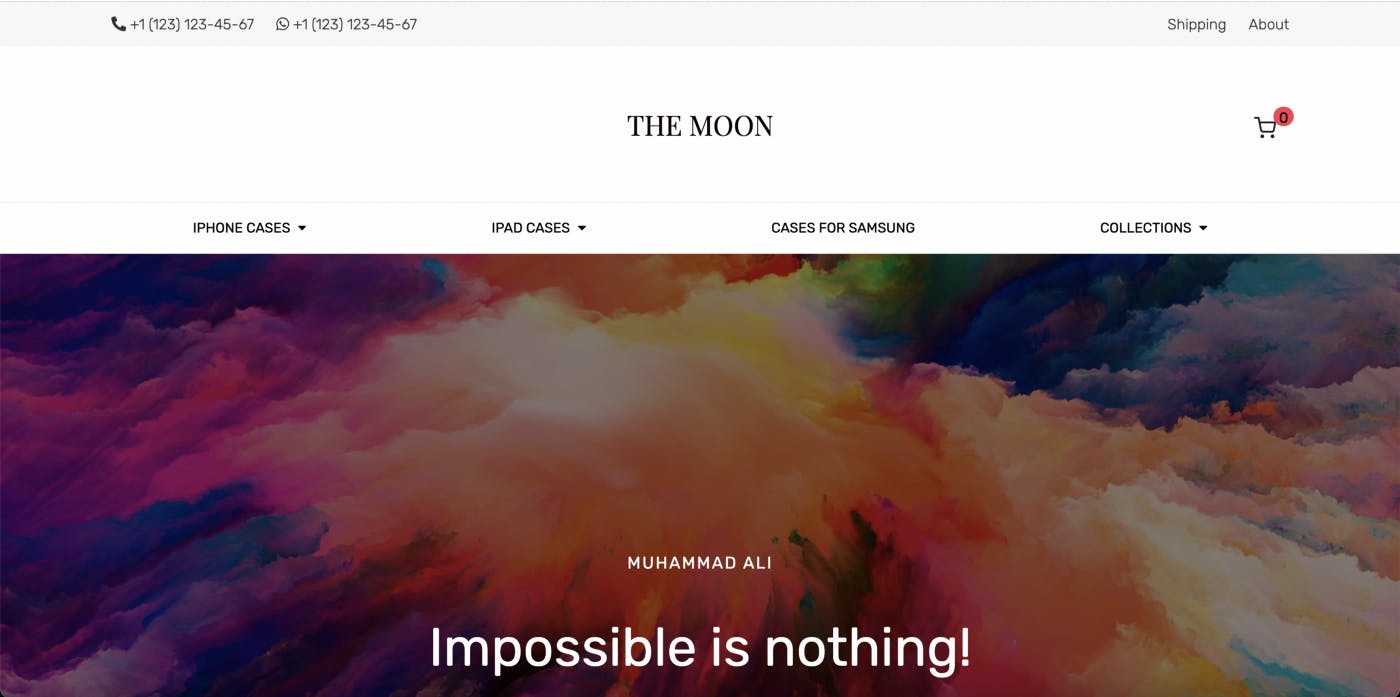
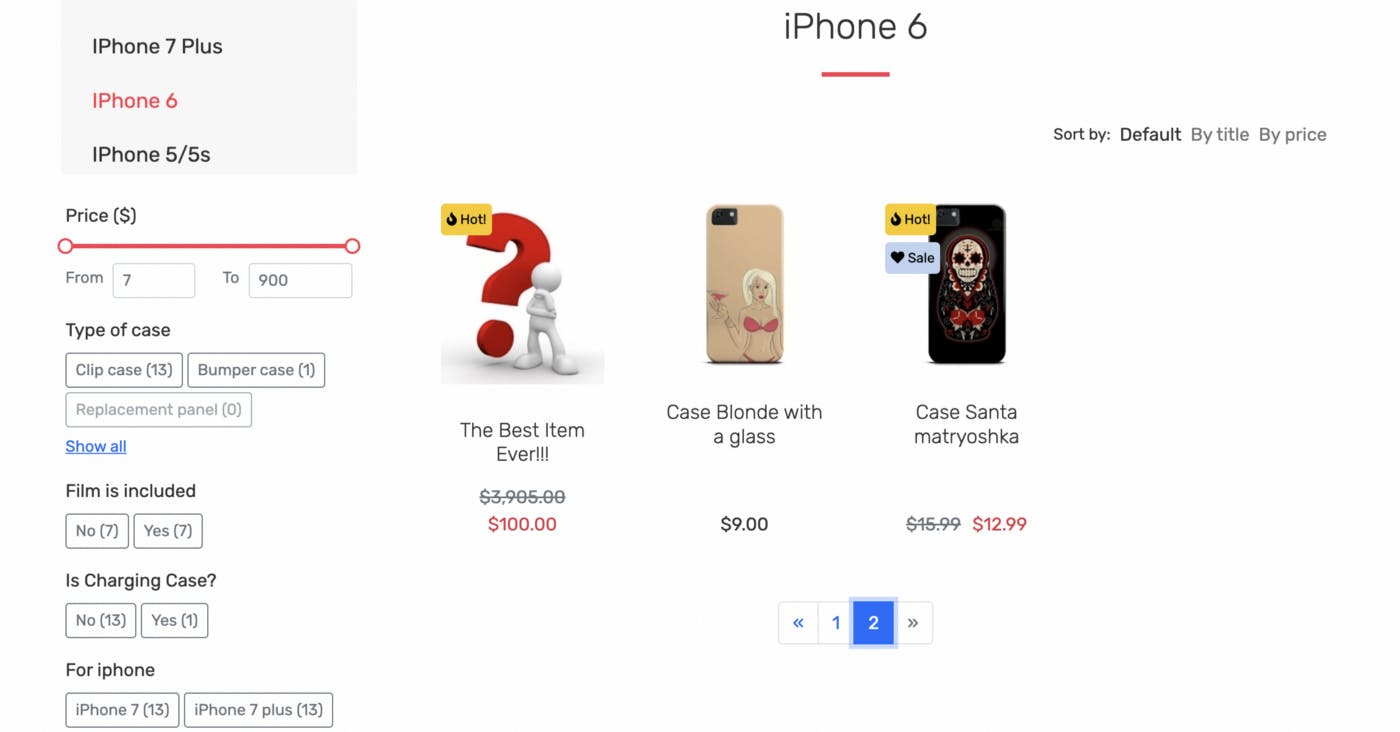
The next step is to choose what theme you want for your frontend, but don’t get too hung up on colour scheme, layout, etc. as they are all fully customisable, as well as being completely free to use and open-source! They even have interactive demos of the themes so you can try them out yourself. You can find the themes under the themes tab from the menu bar at the top of the page or from this link. For this tutorial we will be using their template titled “The Moon.”
Once you’ve decided on a template, create a fork of the repository and clone the fork to your machine.
3. Setting up the code repository
Now we will make sure we setup everything to get the app going locally. First we want to open the code repo using your code editor of choice. For the purposes of this tutorial I will be using VSCode.
After this, the next step to setting up your shop should be connecting it to your Boundless backend. To do this, we need credentials for the Boundless API.
To generate your credentials, navigate to your shop’s dashboard on Boundless, and the Settings at the bottom of the sidebar. From there, navigate to Access Tokens:
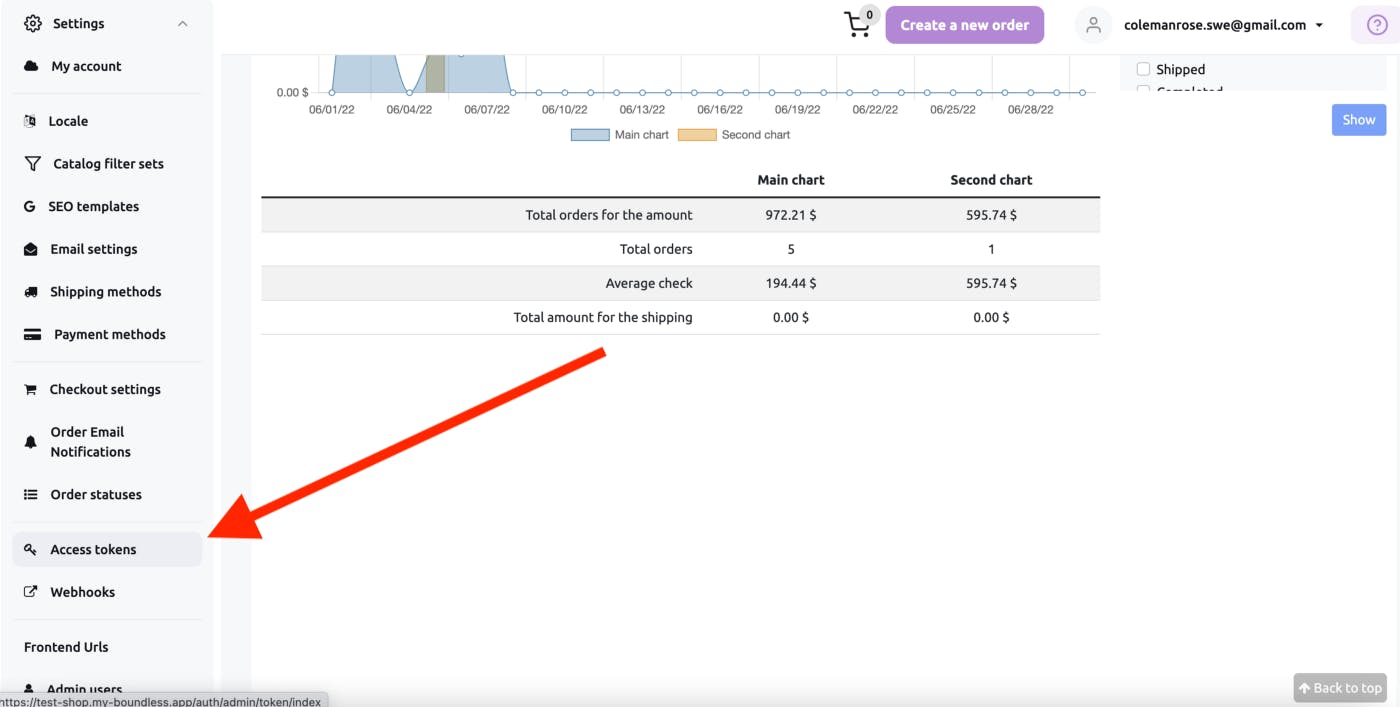
Once on the access tokens page, click the button that says “Create new token” and enter the name for your app, again I will name mine as the frontend for the shop I currently have open.
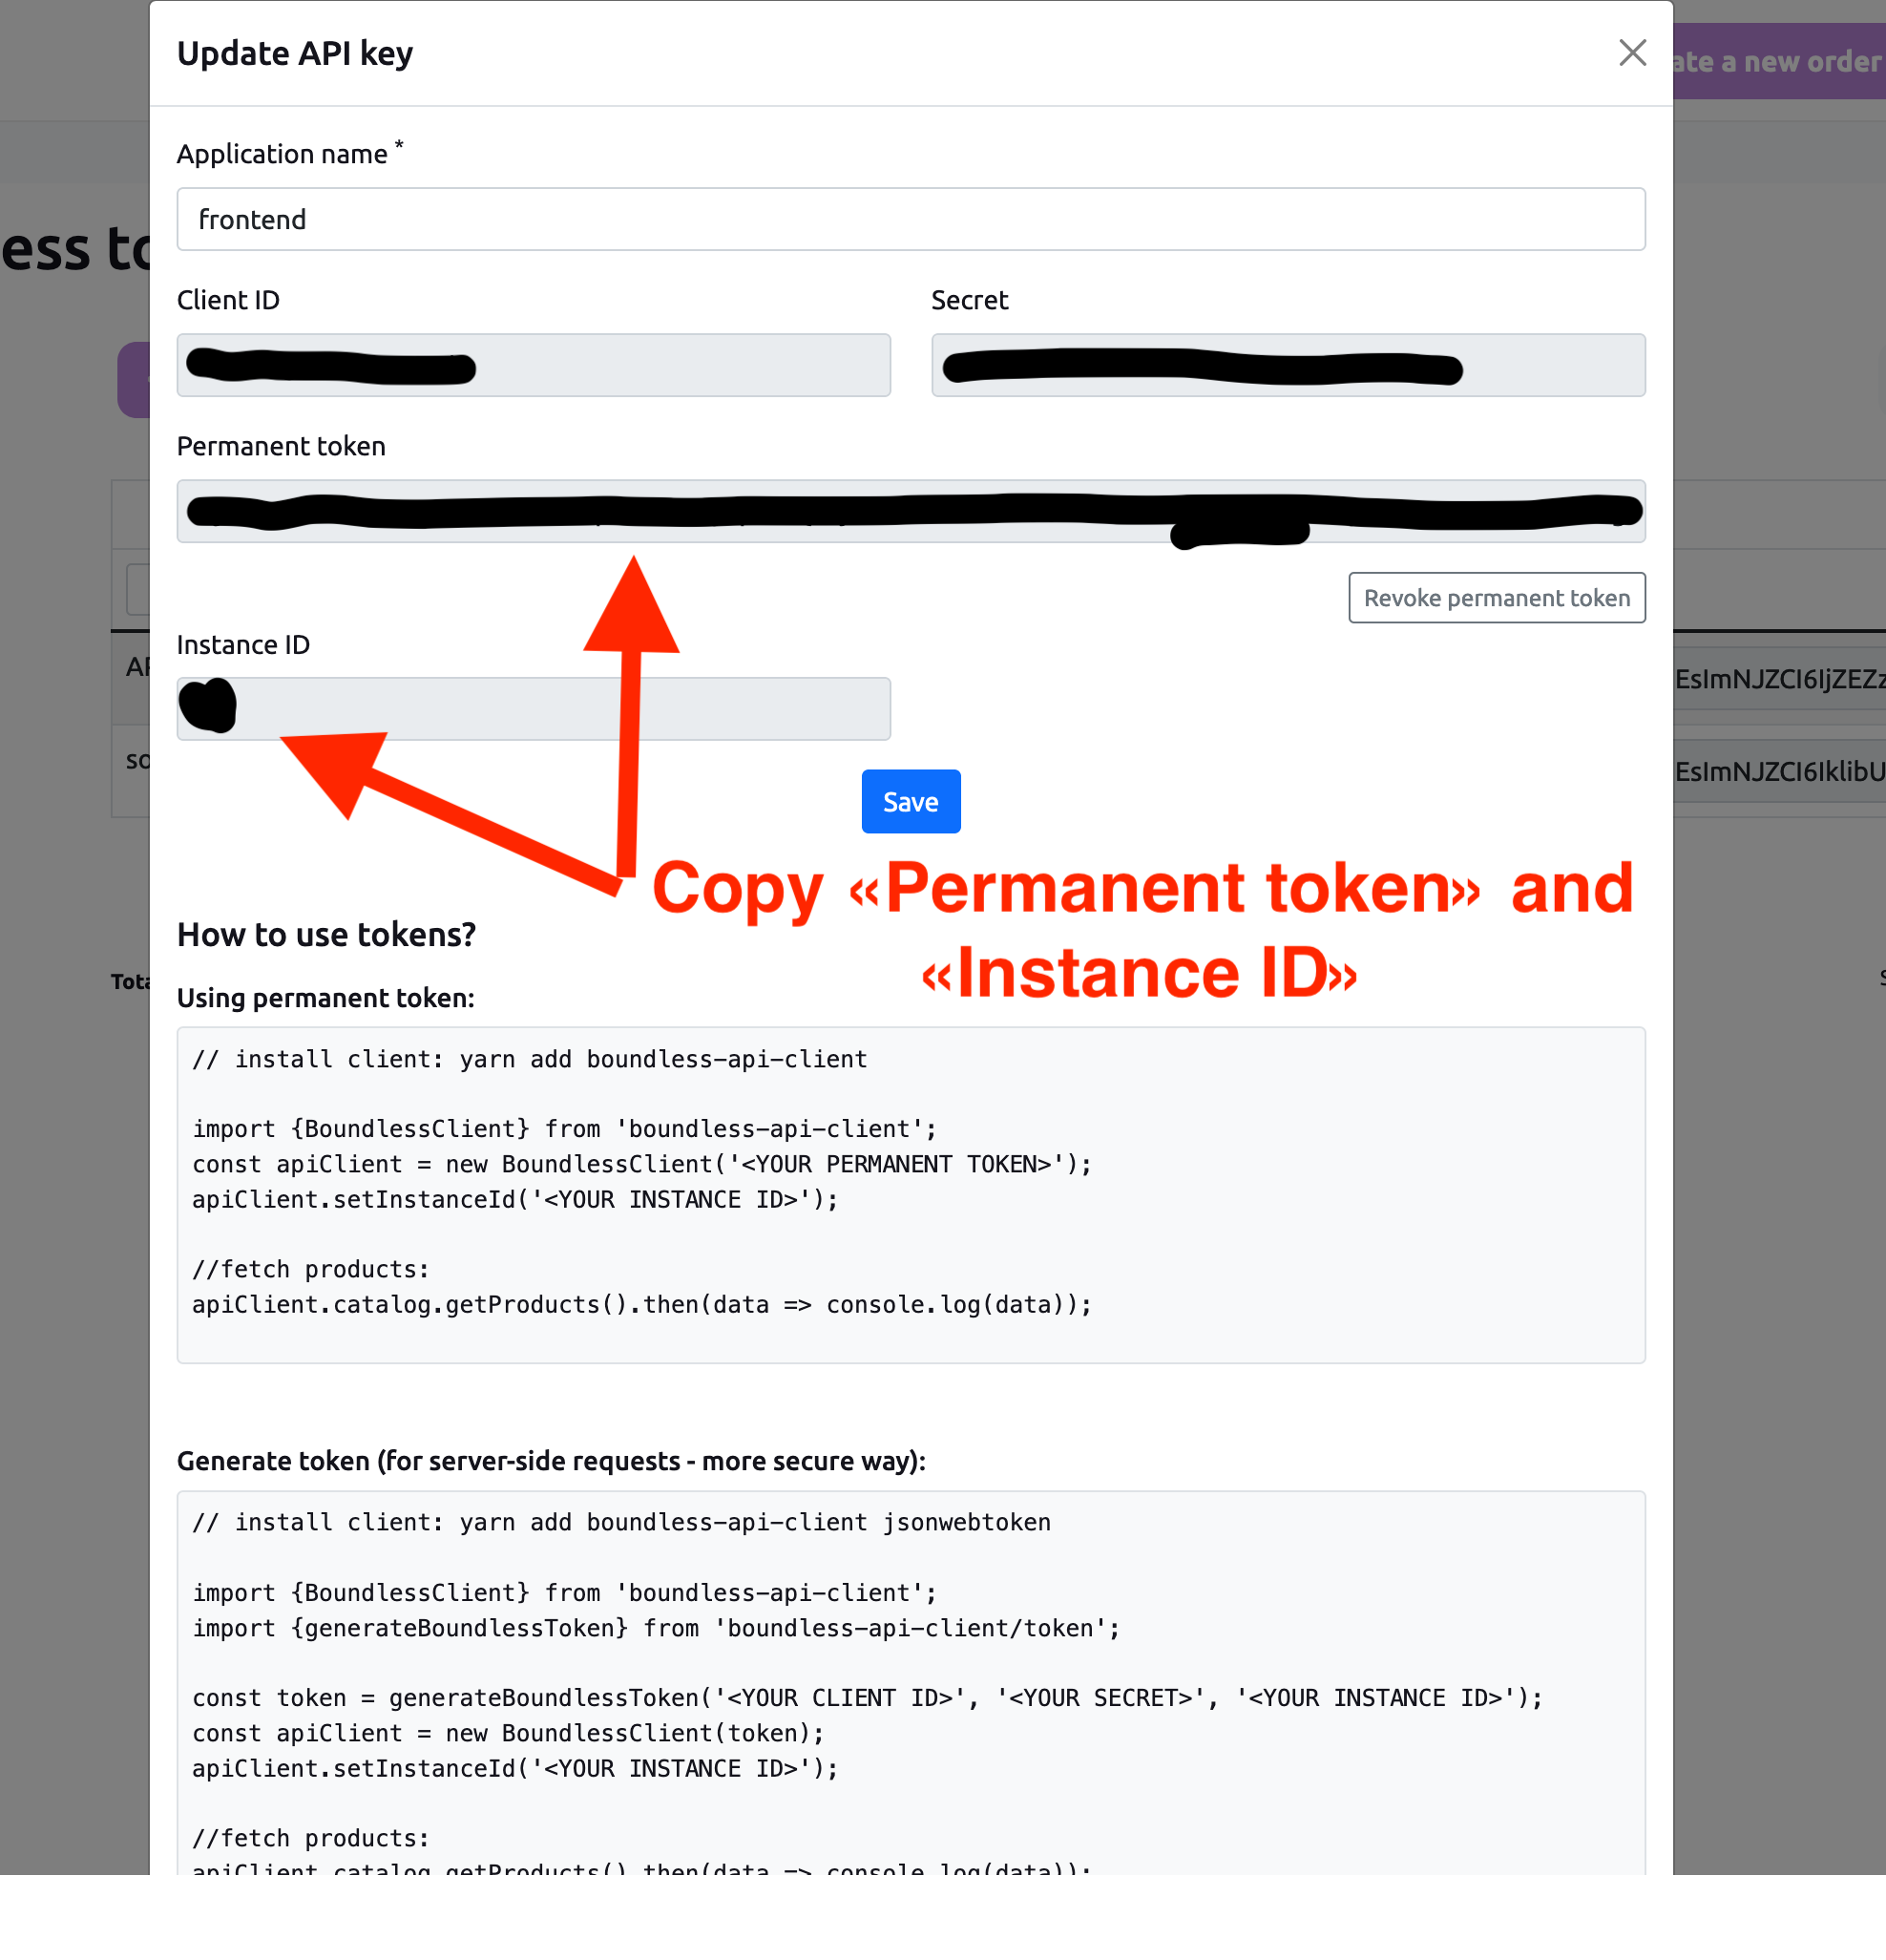
Once you generate the credentials, you’ll be presented with a popup that shows all of your credentials, as well with some helpful pointers on how they should be used, and we will follow these steps to set up our access to the Boundless API.
But before we get into this, we will first make sure we have all the packages installed that are needed for our frontend to get going. To do so, simply open a terminal in VSCode and type the command yarn install and it should install everything needed to get going. If you don’t have Yarn installed, follow the instructions on their site here.
After that, it’s time to setup our credentials. We will first setup our credentials as environment variables. Luckily, the Boundless frontend we cloned has its own .env.example file. We will simply copy the contents to a filed named .env and start from there, you can choose another configuration for your environment files if you’d like, as there are tons of options.
So your config file should look something like this (except obviously replacing everything with your own credentials).
Note: All of these setup steps can also be found in the README
Next we will get the app running locally. To do this, simply use the yarn dev command in the terminal. Then, navigate to http://localhost:3000 and simple as that, you are set! You will now have the shop running locally from your machine!

Now you can also manage your catalog of products from the Boundless control panel (more specifics on that later).
Next we will learn to customise it and make it your own!
4. Customisation of the shop
Before we dive in, I just want to suggest that if you’re new to Next.js, that you review their use of dynamic routing in the documentation. I will briefly cover some of the main points, but the docs are good for a deep dive.
But the routing in Next.js is quite simple and very intuitive. Essentially, you have a folder titled pages in your code repo, and the structure of the files and folders in this folder will determine the structure/routing of your app.
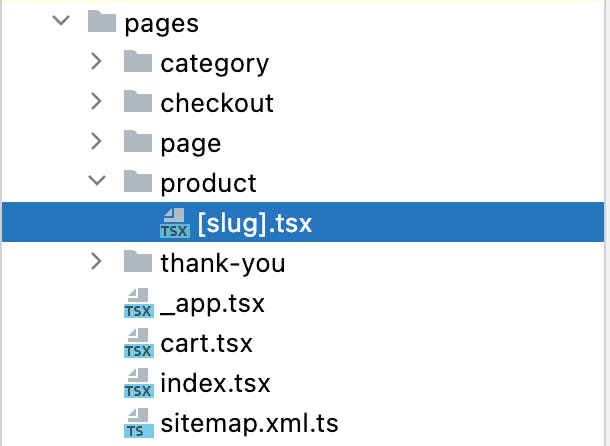
So the index.tsx in your pages folder is your homepage, and every subfolder will be some page that takes accepts a query parameter. Like there will be a product route that accepts and SLUG as a parameter that can be used to personalise the page (such as doing a fetch on the ID for product details, etc).
With that in mind, let’s take a look at the index.tsx file. Inside, you will find the MainLayout and CoverTextInCenter custom components that make up most of the homepage. We will tweak these a bit (and add our own new page eventually) as practice for how the customisation works.
First, let’s take a look at the Header component used within the MainLayout component. If we want to use our own custom logo instead of the “THE MOON” typography that is there by default, we can simply add our logo to the assets folder, then import it in the Header.tsx file, then use it within an img tag in the span where the typography already is.
And just like that your logo is now the one used on the site!

For example, with the CoverTextInCenter component, it accepts a few props, one of them being content which you can pass an object to, which will change the content displayed in the component. Right now, there’s a quote from Muhammad Ali, but we can change it easily:
While we’re at it, let’s change the photo in the background of the component as well. This is as easy as changing the img and imgPortrait props. I added a jpeg of Van Gogh’s starry night to the assets folder, updated the imports, then just threw the photo’s src property into the component props I mentioned before:
And now we have a new version of the component!
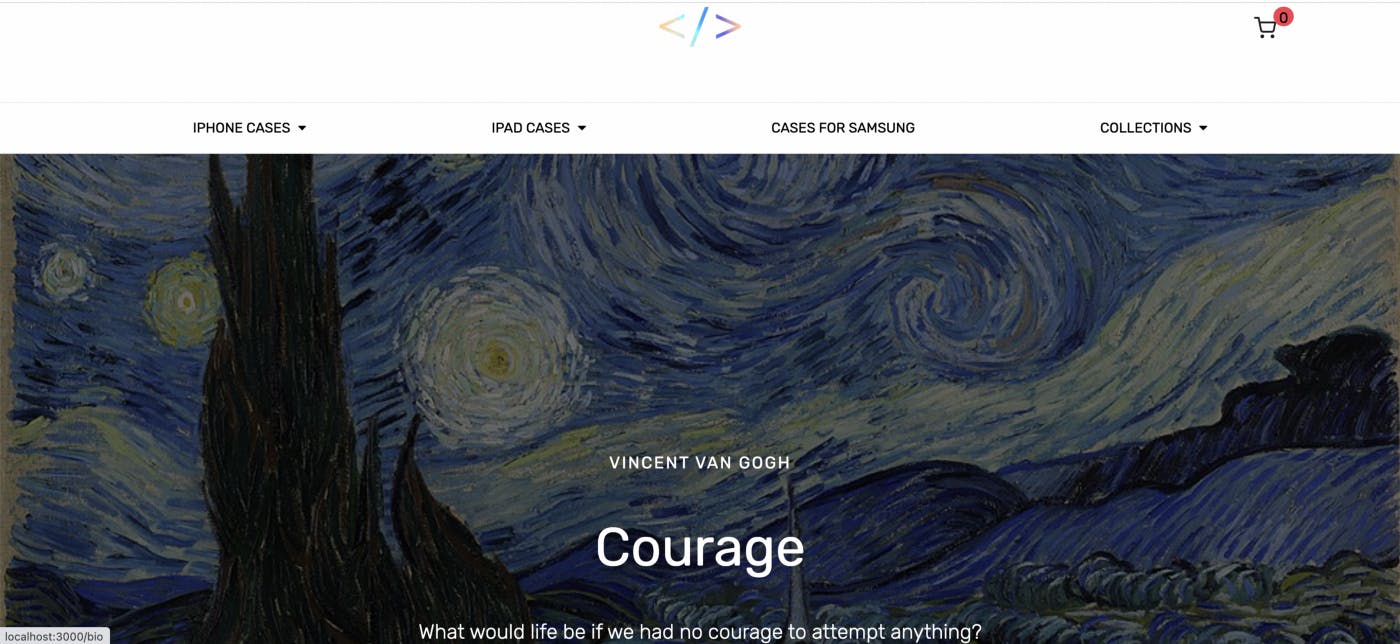

And now we will make a custom page to link to from our component. To begin, I will just copy the contents of the about.tsx page into a new file in the root of the pages folder called bio.tsx then I will just change the contents to a short paragraph about the life of Vincent Van Gogh. So now we have a file that looks like this:
and to link to it from the component, we simply change the link prop of the component to be link={‘/bio’} and now we have a new page that’s linked to our custom component!
These have been very barebones examples, but they give you the gist of how powerful, yet easy to use the components are, as well as how simple and effective the routing of Next.js is.
Note: for CSS/styling, the templates provided use Sass, a really powerful CSS preprocessor that is also quite intuitive and compatible with many versions of vanilla CSS.
5. Adding items to the shop from the Boundless dashboard
Alright, let’s talk shop. Adding items to your shop is also really easy. If you’ve played around with the local installation of your app, you might’ve already noticed that there’s already pre-added items in your shop as well. Luckily, the Boundless dashboard (which you should have a shop-specific link to in your email after signing up) has a really intuitive interface for adding, editing, and deleting items from your shop.
Once you’re at the dashboard, simply open the “Catalog” dropdown on the sidebar and click on “Products.” Here’s where you can make the product magic happen. Just click the “Create” button and you have a really nice product creation UI, which includes a rich text editor for the description, pricing options, and SKU support. You can even create custom item labels and categories within the product creation UI.
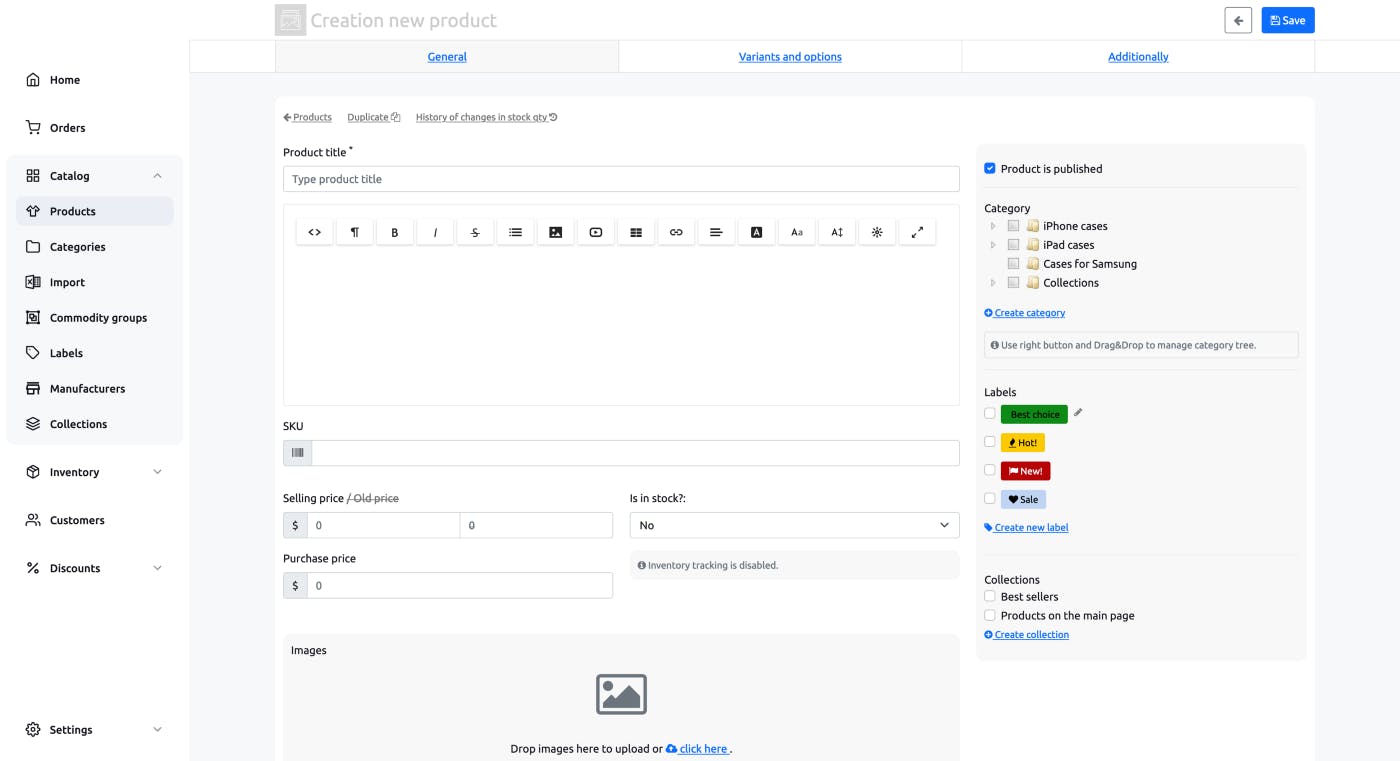
After you have filled in the info, uploaded a picture of your item, etc. just click save and just like that, you can now see the item in your shop!
6. Deploying your app to Netlify

Now it’s time to share your app with the world! For this we will be using Netlify’s built-in Github integration that makes it really simple to push your site live in minutes.
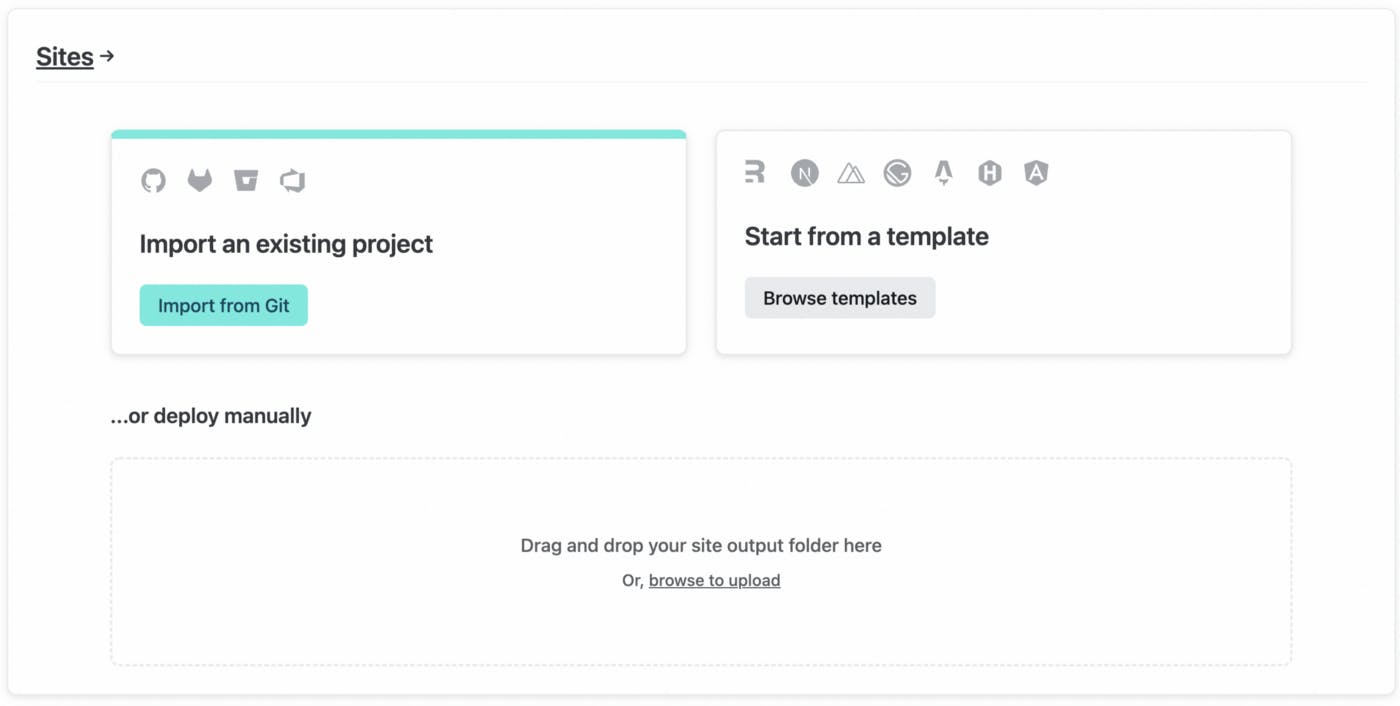
After signing up for Netlify you will be presented with a dashboard. There will be a “Sites” section. We will using the “Import from Git” function:
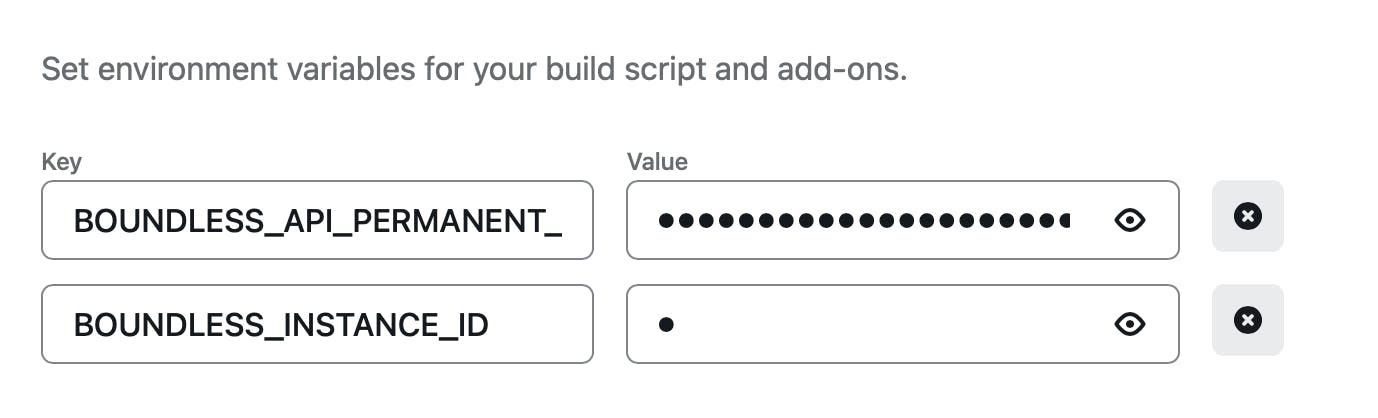
Next, you will choose the Github option, sign in using your Github credentials, and find your shop repository you want to deploy. And since Netlify is made to be super quick and simple, they will already have deployment settings for Next.js pre-configured, but since we don’t check in our environment variables on Git, we will have to set our environment variables in the advanced settings.
So now, click on “Show advanced” at the bottom of the site settings step of deployment, and you will see a “New variable” button that will allow you to add your environment variables.
Now that we’ve set the environment variables, click “Deploy site” and easy as that, your site is now being deployed! After a short build time you should have a fully deployed site with a link you can follow to check it out.
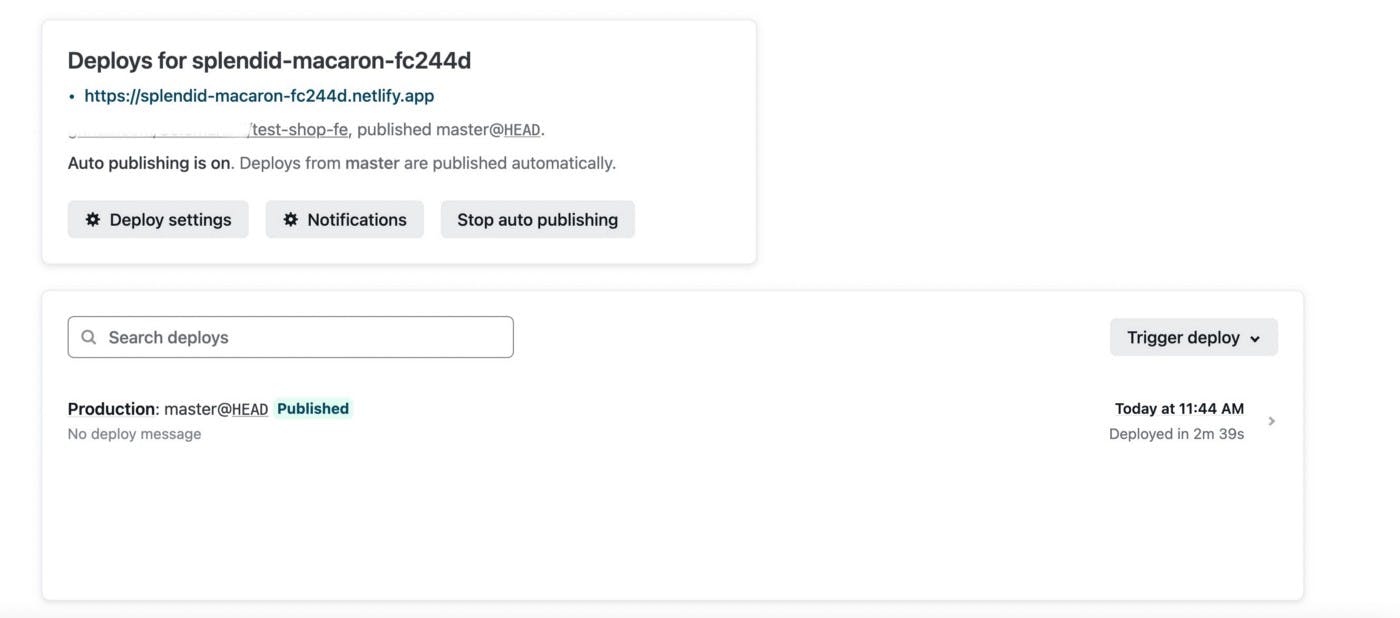
And in the beginning your site will have a randomly generate url with a Netlify subdomain, but in the domain settings for the site you can set up custom domains and such if you so choose.
And in just a few easy steps we have set up a fully function, fully customisable e-commerce site!