Using React for an E-Commerce Web App (2023) — Key Points and Live Examples

The world of e-commerce is ever expanding and becoming one of the hottest markets following the global pandemic. It is more important than ever that businesses of all kinds have an online presence, and ideally offer their product online as well.
In this tutorial I will explain not only why React (and specifically Next.js — a react framework) is the perfect choice for your own e-commerce shop, but also how to get your very own shop up and running easily.
Why use React for E-commerce?
React is an amazing fit for e-commerce specifically. Some of the benefits include:
- Support for server-side rendering (SSR). This is a really key feature for e-commerce, as it really helps improve Google page ranking and general SEO. And this is supported out of the box in Next.js, as you’ll see later.
- Next.js supports page pre-compiling. This means that the HTML (SSR) is generated at runtime and put in cache. If a user or google bot requests that page the initial HTML will be taken from the cache. It drastically speeds up your site and positions in google as well. Check out an example of this in action here.
- A big and active community. You will never run out of great resources and documentation for understanding React and how to use it. Also included with the community is great open source libraries that help easily expand the functionality of your product.
- Component-based architecture. This part of React really helps keep code readable and easily maintainable.
There are a vast amount of other benefits to using React, but these are some of the most relevant ones for e-commerce pages.
React’s SEO and Your Product
As mentioned above, React’s support for server-side rendering (not to mention other general SEO features) is really crucial for online business. Improving your visibility and traffic from search engines is one of the single most important things you could possibly do for online business.
Server-side rendering itself is very useful because it improves the load time of your webpage, thus making search engines prefer it over slower, more poorly performing webpages.
It’s also important to have page pre-compiled, which drastically speeds up the page loading time/responsiveness. Next.js has this feature out of the box. Here you can read a bit more in detail. And here is an explanation about fallback property.
For this tutorial, we’ll use a free and open-source theme from Boundless E-Commerce. These themes are built using Next.js and therefore are equipped with SSR and other SEO features as soon as you clone them.
Other Best Practices for SEO
To demonstrate one of the other ways the Boundless E-Commerce themes will out-perform other sites with SEO, we will take a look at the Google Rich Results Test for one of their product listings.
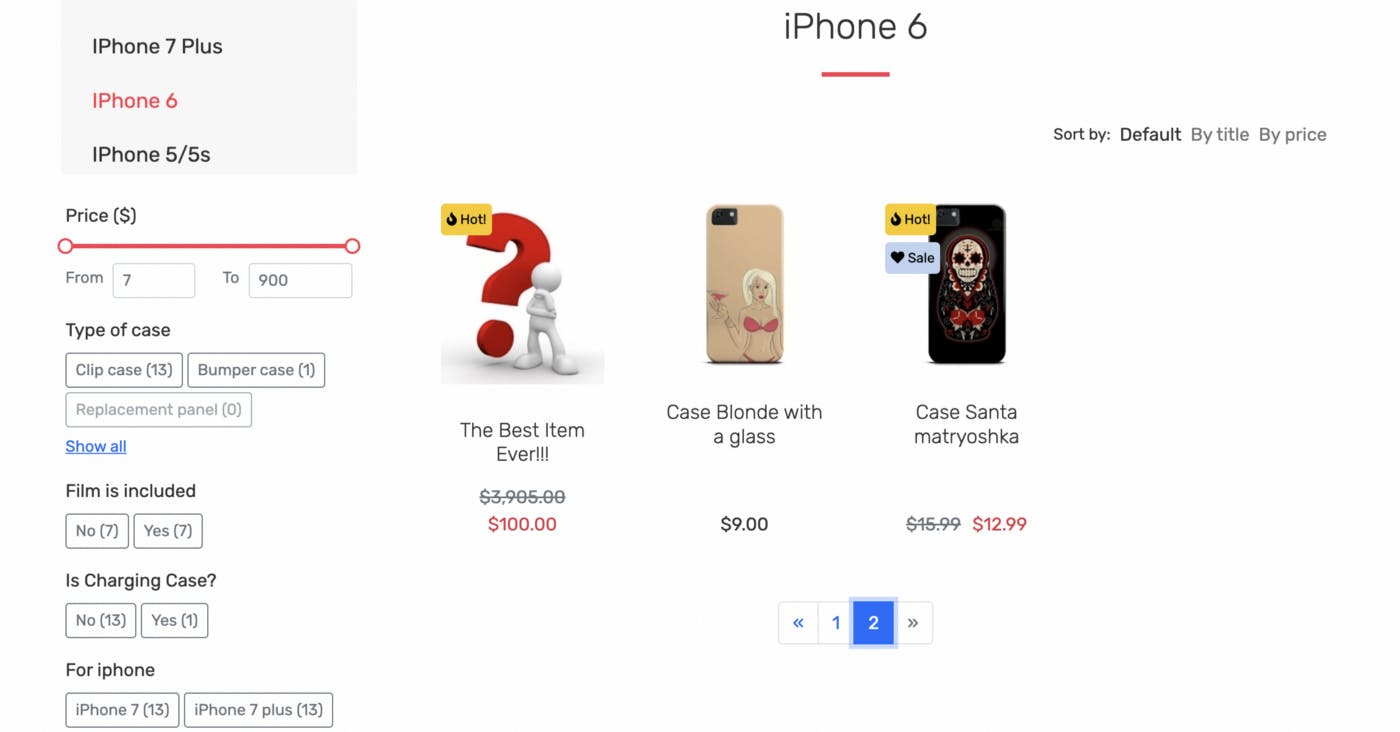
For this example, we will use their template demo called Next.js eCommerce starter theme (blank). Simply navigate to a category, then a product within the demo:

and then paste the product link into the Rich Results Test.
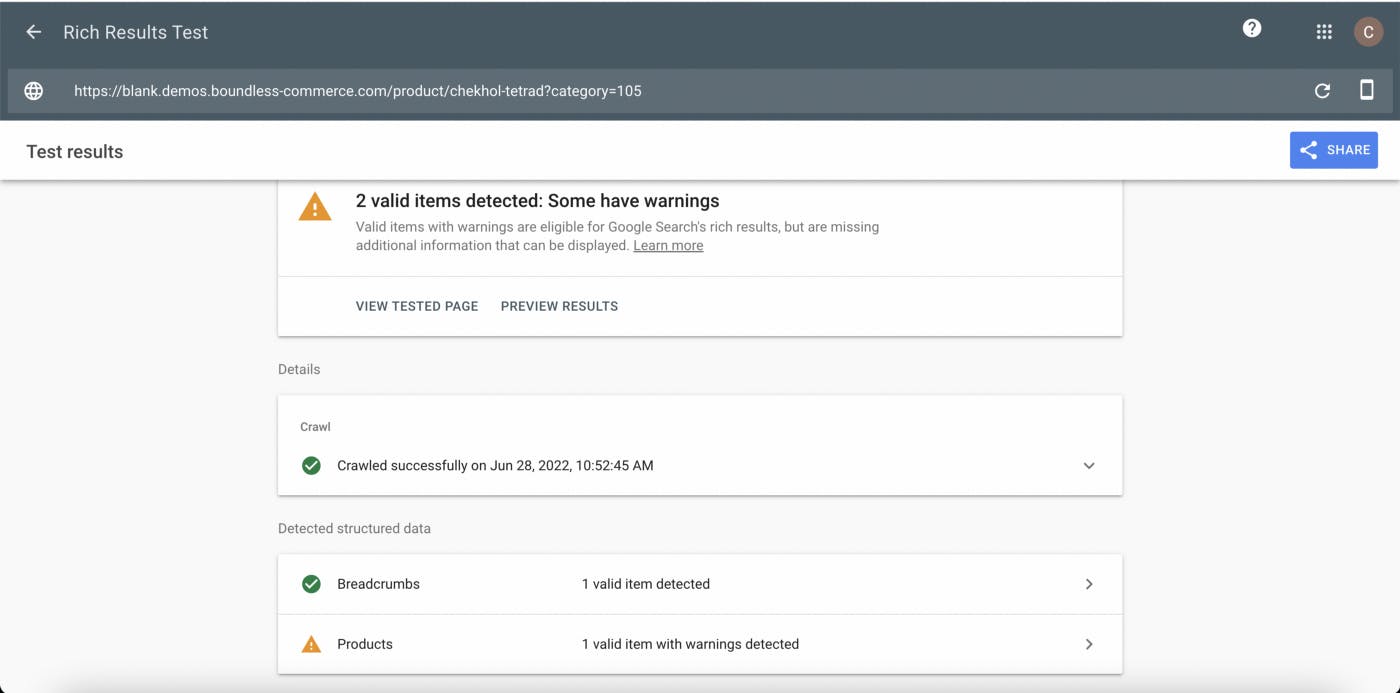
And here Google can detect the support for rich results! This is because the themes support Schema.org markup, providing the category and product pages with structure and clarity, which search engines also love.
Some of the products may have warnings, but this is simply from missing (optional) data. For example, if your product is tagged as having support for reviews, yet doesn’t have any reviews yet as it’s a brand-new product, the test results will reflect that.
Another important detail to mention is that the Boundless themes provide a sitemap.xml file out of the box. This is important for SEO as well, as it helps search engines find all the pages within your site. Again, it’s a bit of structure that search engines really appreciate.
Quick and Easy Integration with CDNs
Another benefit for using React for your e-commerce site is it’s usually really simple to manage deployment using Netlify which provides a free CDN by default.
This means with just a few steps you can deploy your site live for everyone to make orders on! Netlify specifically even supports automatic deployment of your site, meaning that you can easily set up the site to “update itself” live whenever you make changes to the master branch of your project.
Tutorial: Setting Up Your Shop
This tutorial will be for creating your very own, fully-customisable online shop front for your products using Next.js.
For this tutorial, we will also be using Boundless Commerce, a service providing everything you need to get a fully custom e-commerce site up and running as quickly as possible, including a headless backend and Next.js templates for the frontend.
1. Sign up for the free version
To begin, we will just register with Boundless Commerce. It’s as simple as entering your email and completely free to try! They also have different price points for scaling your business.
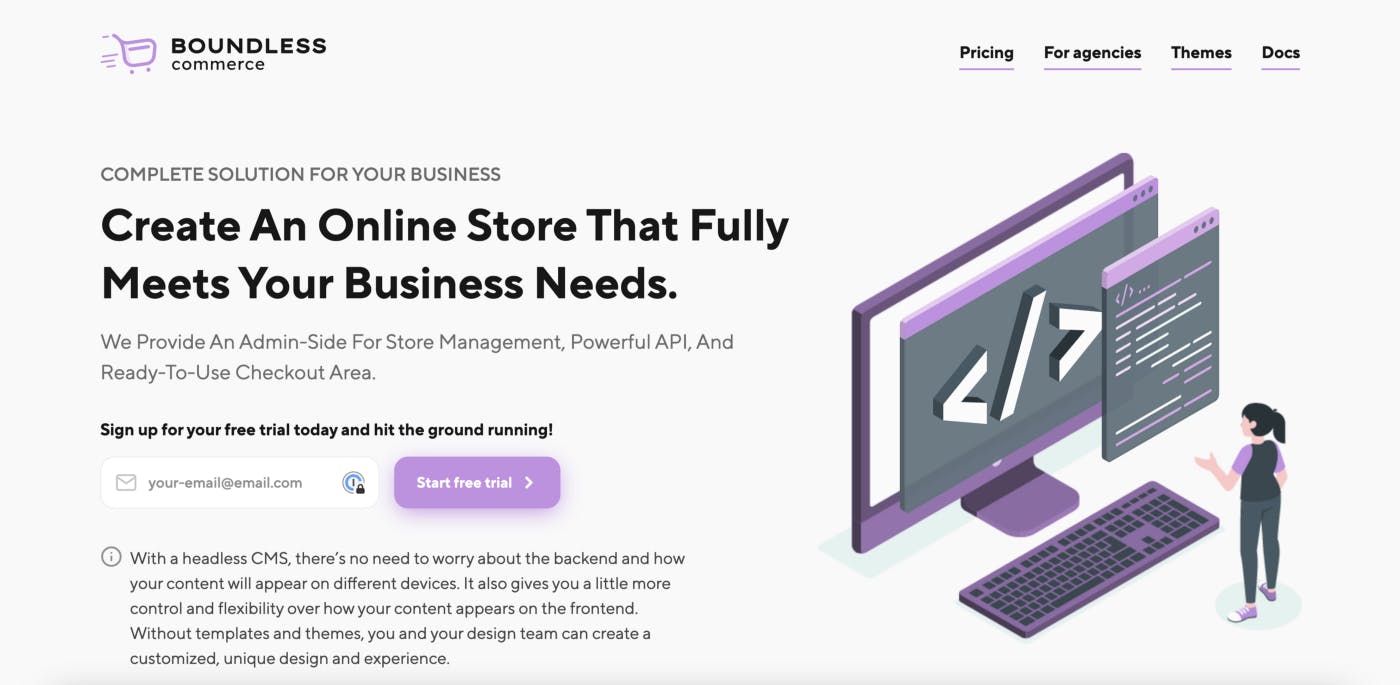
Boundless sign up is super simple. All that’s needed is to provide your email, answer a few setup questions, and choose a shop name. That’s it!

2. Clone a frontend theme from the Boundless templates
This step is simple, simply go to Boundless’ themes page and select the template you like the most, clone it to your machine and open it in your code editor of choice!
3. Setting Up the Environment Variables & Permissions
Once you have your code open, it’s time to set the environment variables.
To do this, we simply need credentials for your specific shop from the Boundless API.
To generate your credentials, navigate to your shop’s dashboard on Boundless, and the Settings at the bottom of the sidebar. From there, navigate to Access Tokens:
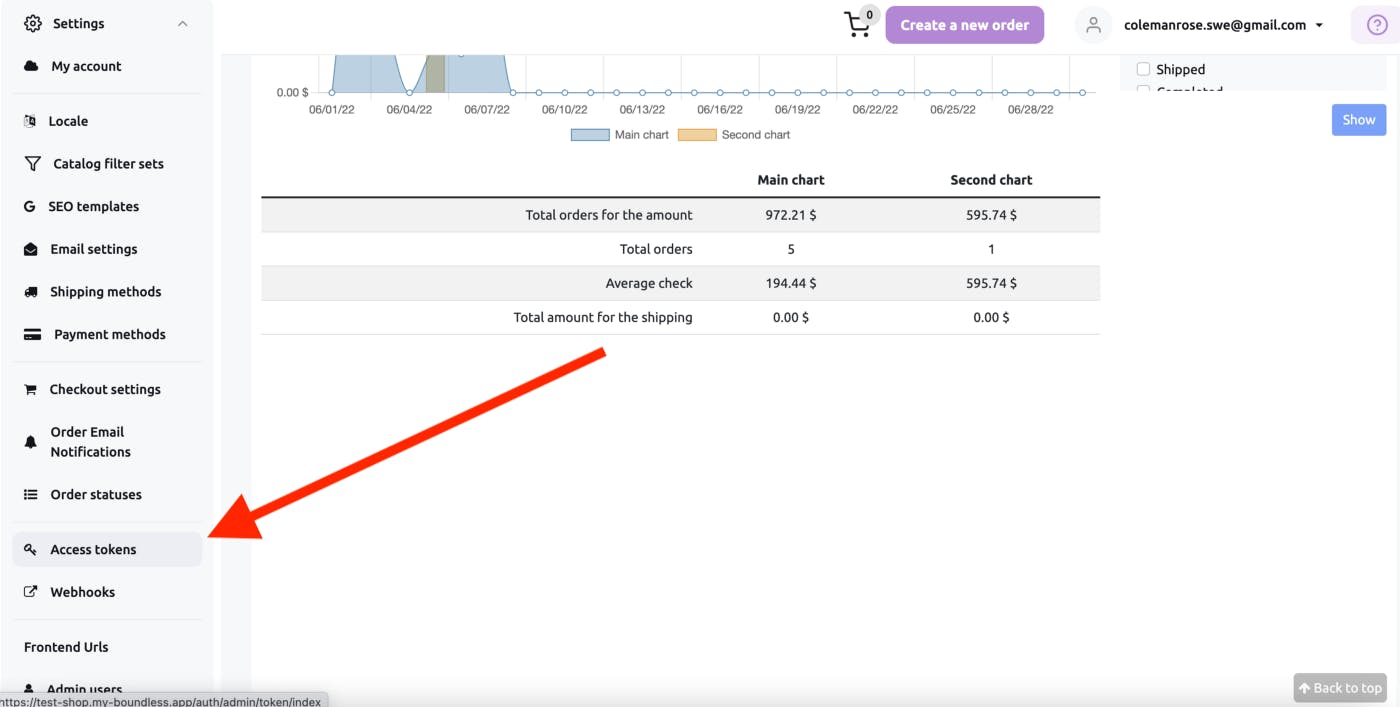
Once on the access tokens page, click the button that says “Create new token” and enter the name for your app. You can ignore the instructions at the bottom under “How to use tokens?” as our template will already be configured out of the box!

Now we will simply make sure our packages are all installed correctly, by simply running the `yarn install` command in the terminal.
After that, it’s time to setup our credentials. We will first setup our credentials as environment variables. Luckily, the Boundless frontend we cloned has its own .env.example file. We will simply copy the contents to a file named .env
Your config file should look something like this.
Note: All of these setup steps can also be found in the README
Next we will get the app running locally by simply running the yarn dev command. And now the app will be running at http://localhost:3000
Next we will learn to customise it and make it your own!
4. Customisation of the shop
Something really helpful for understanding pages and routing for your site would be to check out the dynamic routing documentation for Next.js.
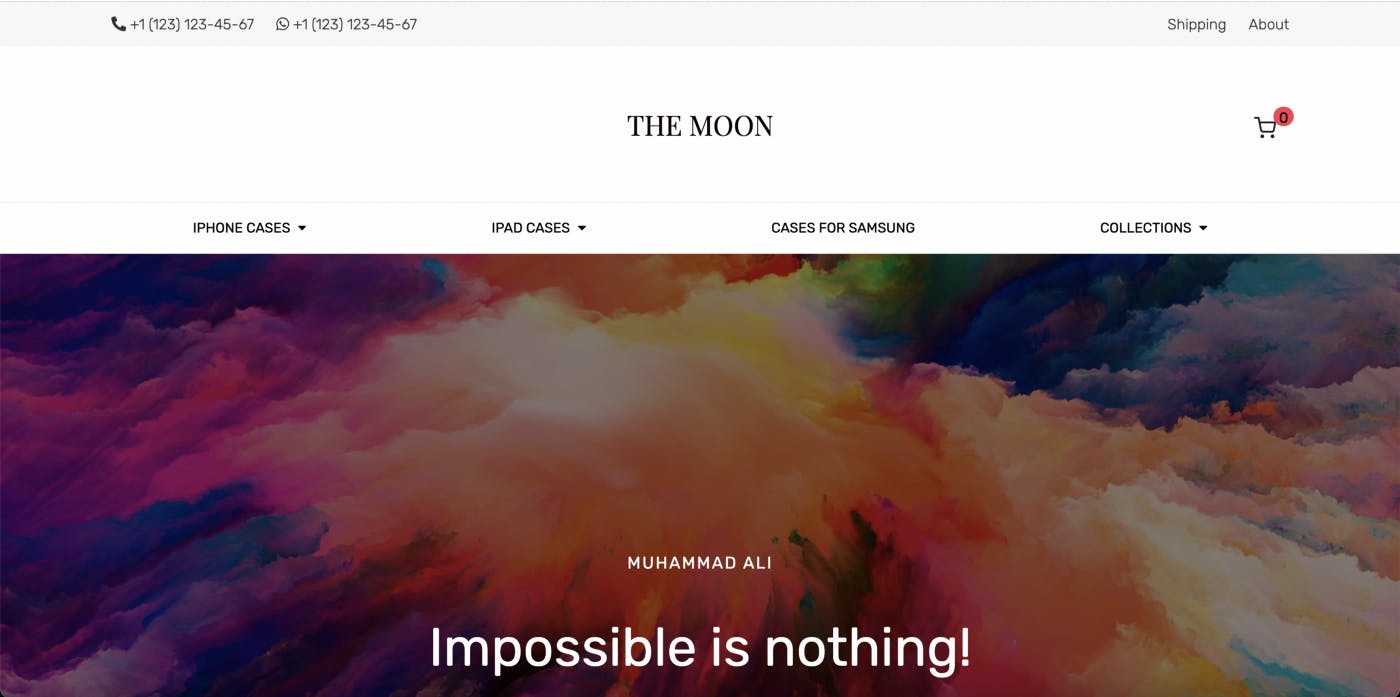
To start customisation, let’s take a look at the index.tsx file. In this file you will find the MainLayout and CoverTextInCenter custom components that make up most of the homepage. These will be our focus.
First, let’s take a look at the Header component used within the MainLayout component. To use our own custom logo instead of the “THE MOON” typography that is there by default, just add your custom logo to the assets folder, then import it in the Header.tsx file, then use it within an img tag in the span where the typography already is.
And just like that your logo is now the one used on the site!

Note: for CSS/styling, the templates provided use Sass, a really powerful CSS preprocessor that is also quite intuitive and compatible with many versions of vanilla CSS.
5. Adding items to the shop from the Boundless dashboard
Adding items to your shop is also super simple. The Boundless dashboard already includes a really intuitive interface for adding, editing, and deleting items from your shop.
Once you’re at the dashboard, simply open the “Catalog” dropdown on the sidebar and click on “Products.” Then, just click the “Create” button and you have a really nice product creation UI, which includes a rich text editor for the description, pricing options, and SKU support. You can even create custom item labels and categories within the product creation UI.
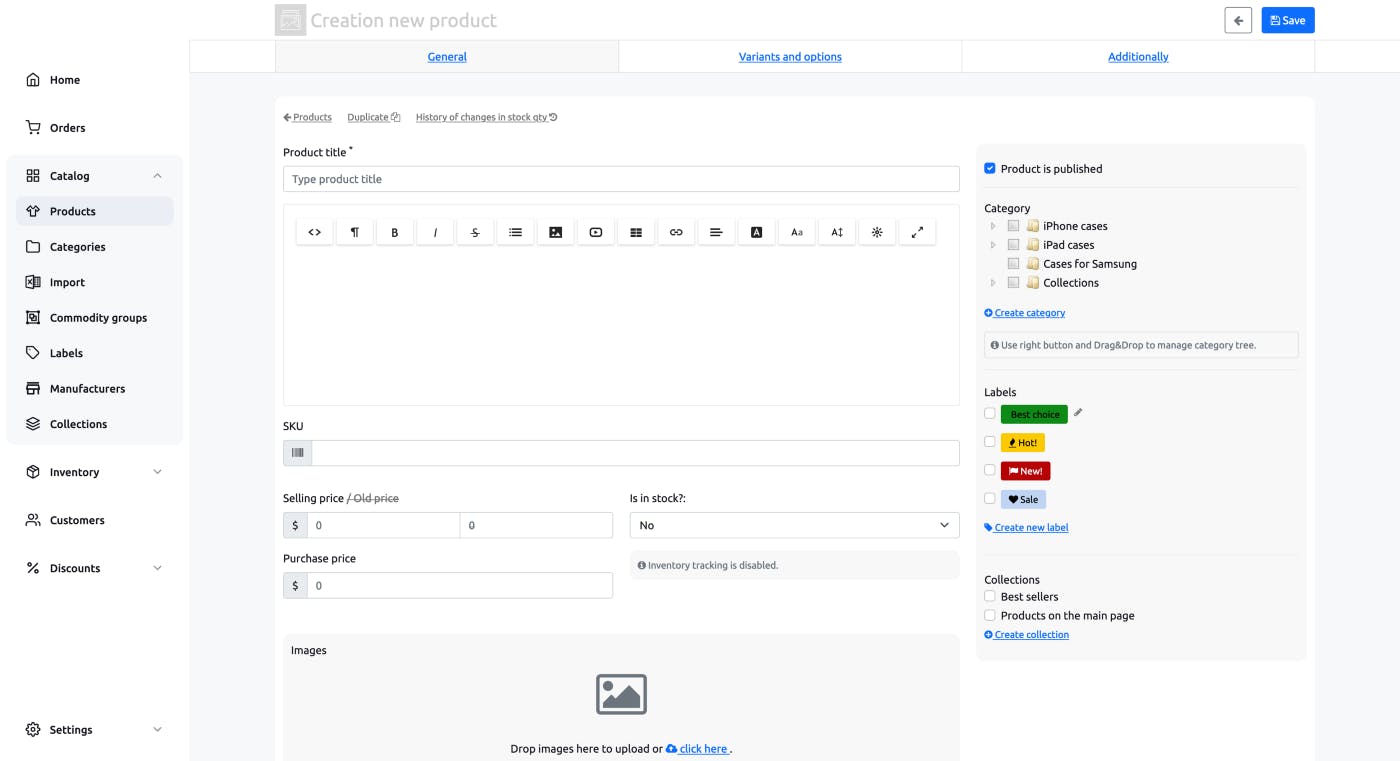
After you have filled in the info, uploaded a picture of your item, etc. just click save and just like that, you can now see the item in your shop!
6. Deploying your app to Netlify

To quickly mention an advantage of Netlify, it supports CDN by default which speeds up content delivery for end users. This feature is especially powerful if you have pre-compiled pages, since pre-compiled content will be delivered with the CDN. Check out info about this from Netlify themselves here.
Now deployment, this is also super simple using Netlify.
After signing up for Netlify you will be presented with a dashboard. There will be a “Sites” section. We will using the “Import from Git” function:
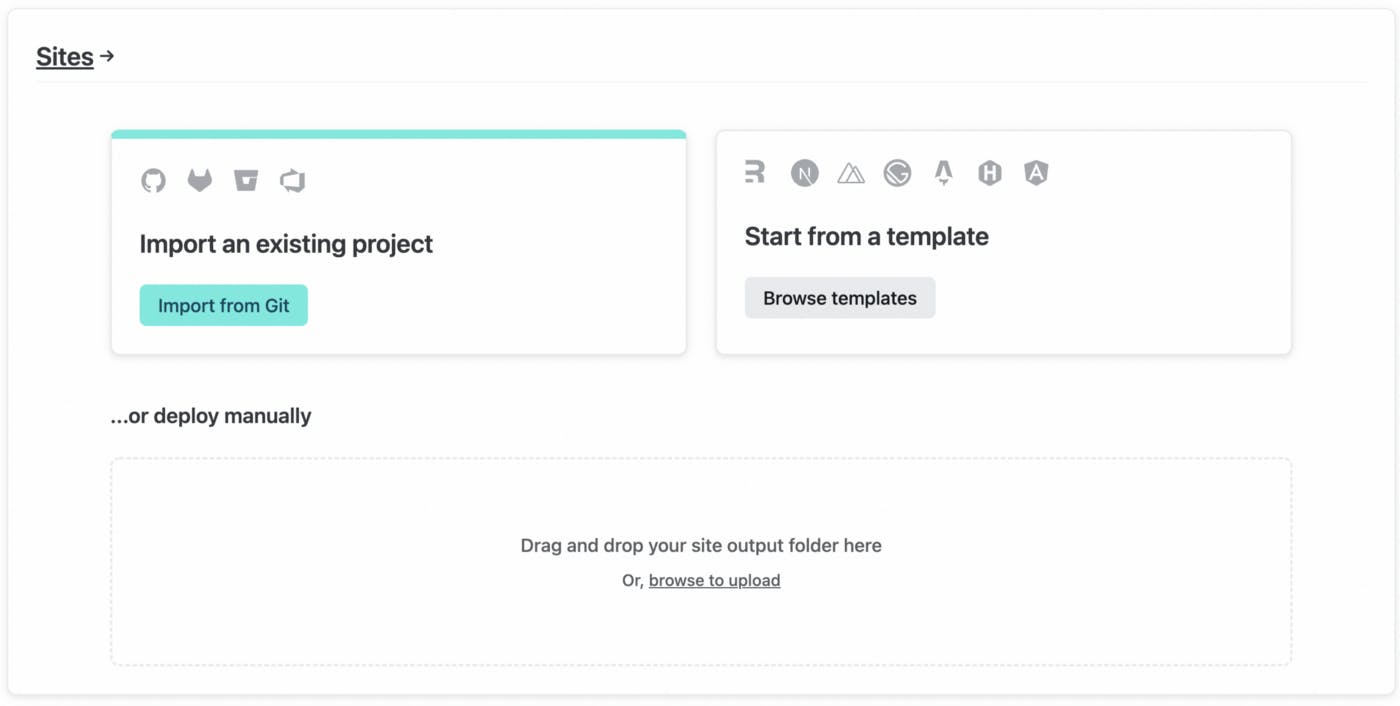
Next, you will choose the Github option, sign in using your Github credentials, and find your shop repository you want to deploy. Netlify comes already with a lot of setup out of the box, but since we don’t check in our environment variables on Git, we will have to set our environment variables in the advanced settings.
So now, click on “Show advanced” at the bottom of the site settings step of deployment. Here, you can add your environment variables using the “New variable” button.
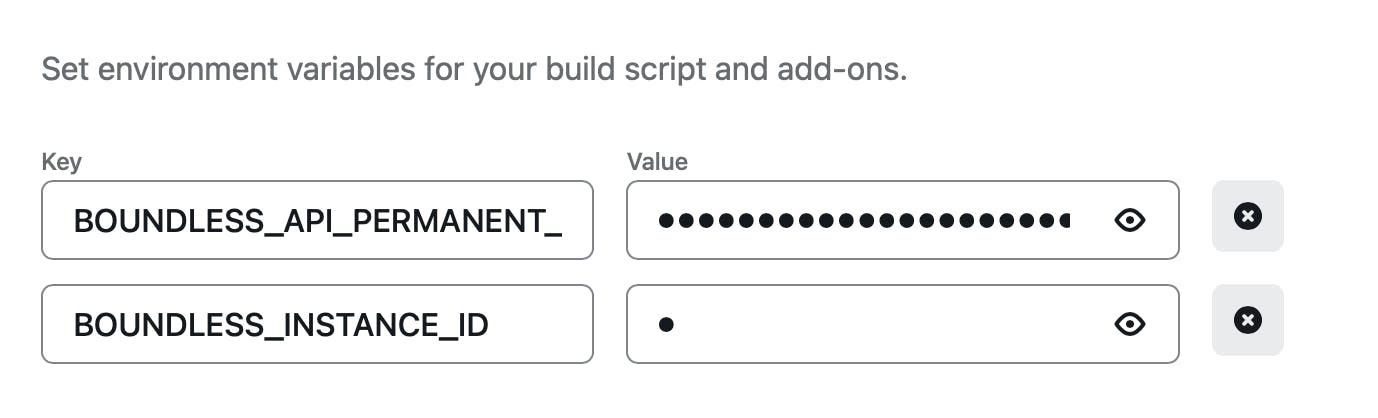
Now that we’ve set the environment variables, click “Deploy site” and after a short build time you should have a fully deployed site with a link you can follow to check it out.
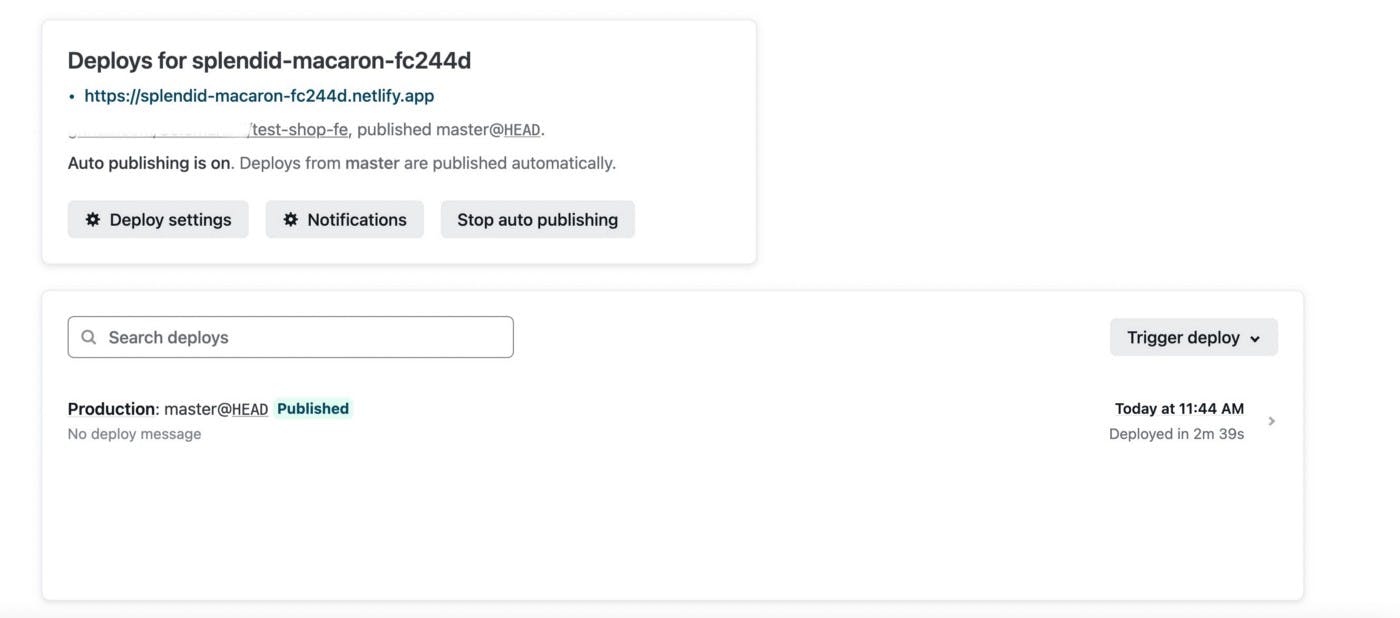
And in the beginning your site will have a randomly generate url with a Netlify subdomain, but in the domain settings for the site you can set up custom domains and such if you so choose.
And in just a few easy steps we have set up a fully function, fully customisable e-commerce site!